I know next to nothing about hand planes, so I decided a great way to start learning would be by restoring one.
Disclaimer: if you are looking for how to restore a hand plane, you may want to go look elsewhere. I am not an expert and it’s very possible some of the things I am doing here aren’t the better way to go.
I went to Ebay and bought a Stanley #4 smoothing plane. It looked great, had all the parts in good shape, no cracks on the handles, no big scratches, and seemed pretty well used, so to me it seems like someone really gave good use to this tool and cared for it well, all good signs. From this handy dating flowchart, I believe this is a type 14 from the 1929-30 production run.
It came with quite a bit of rust.

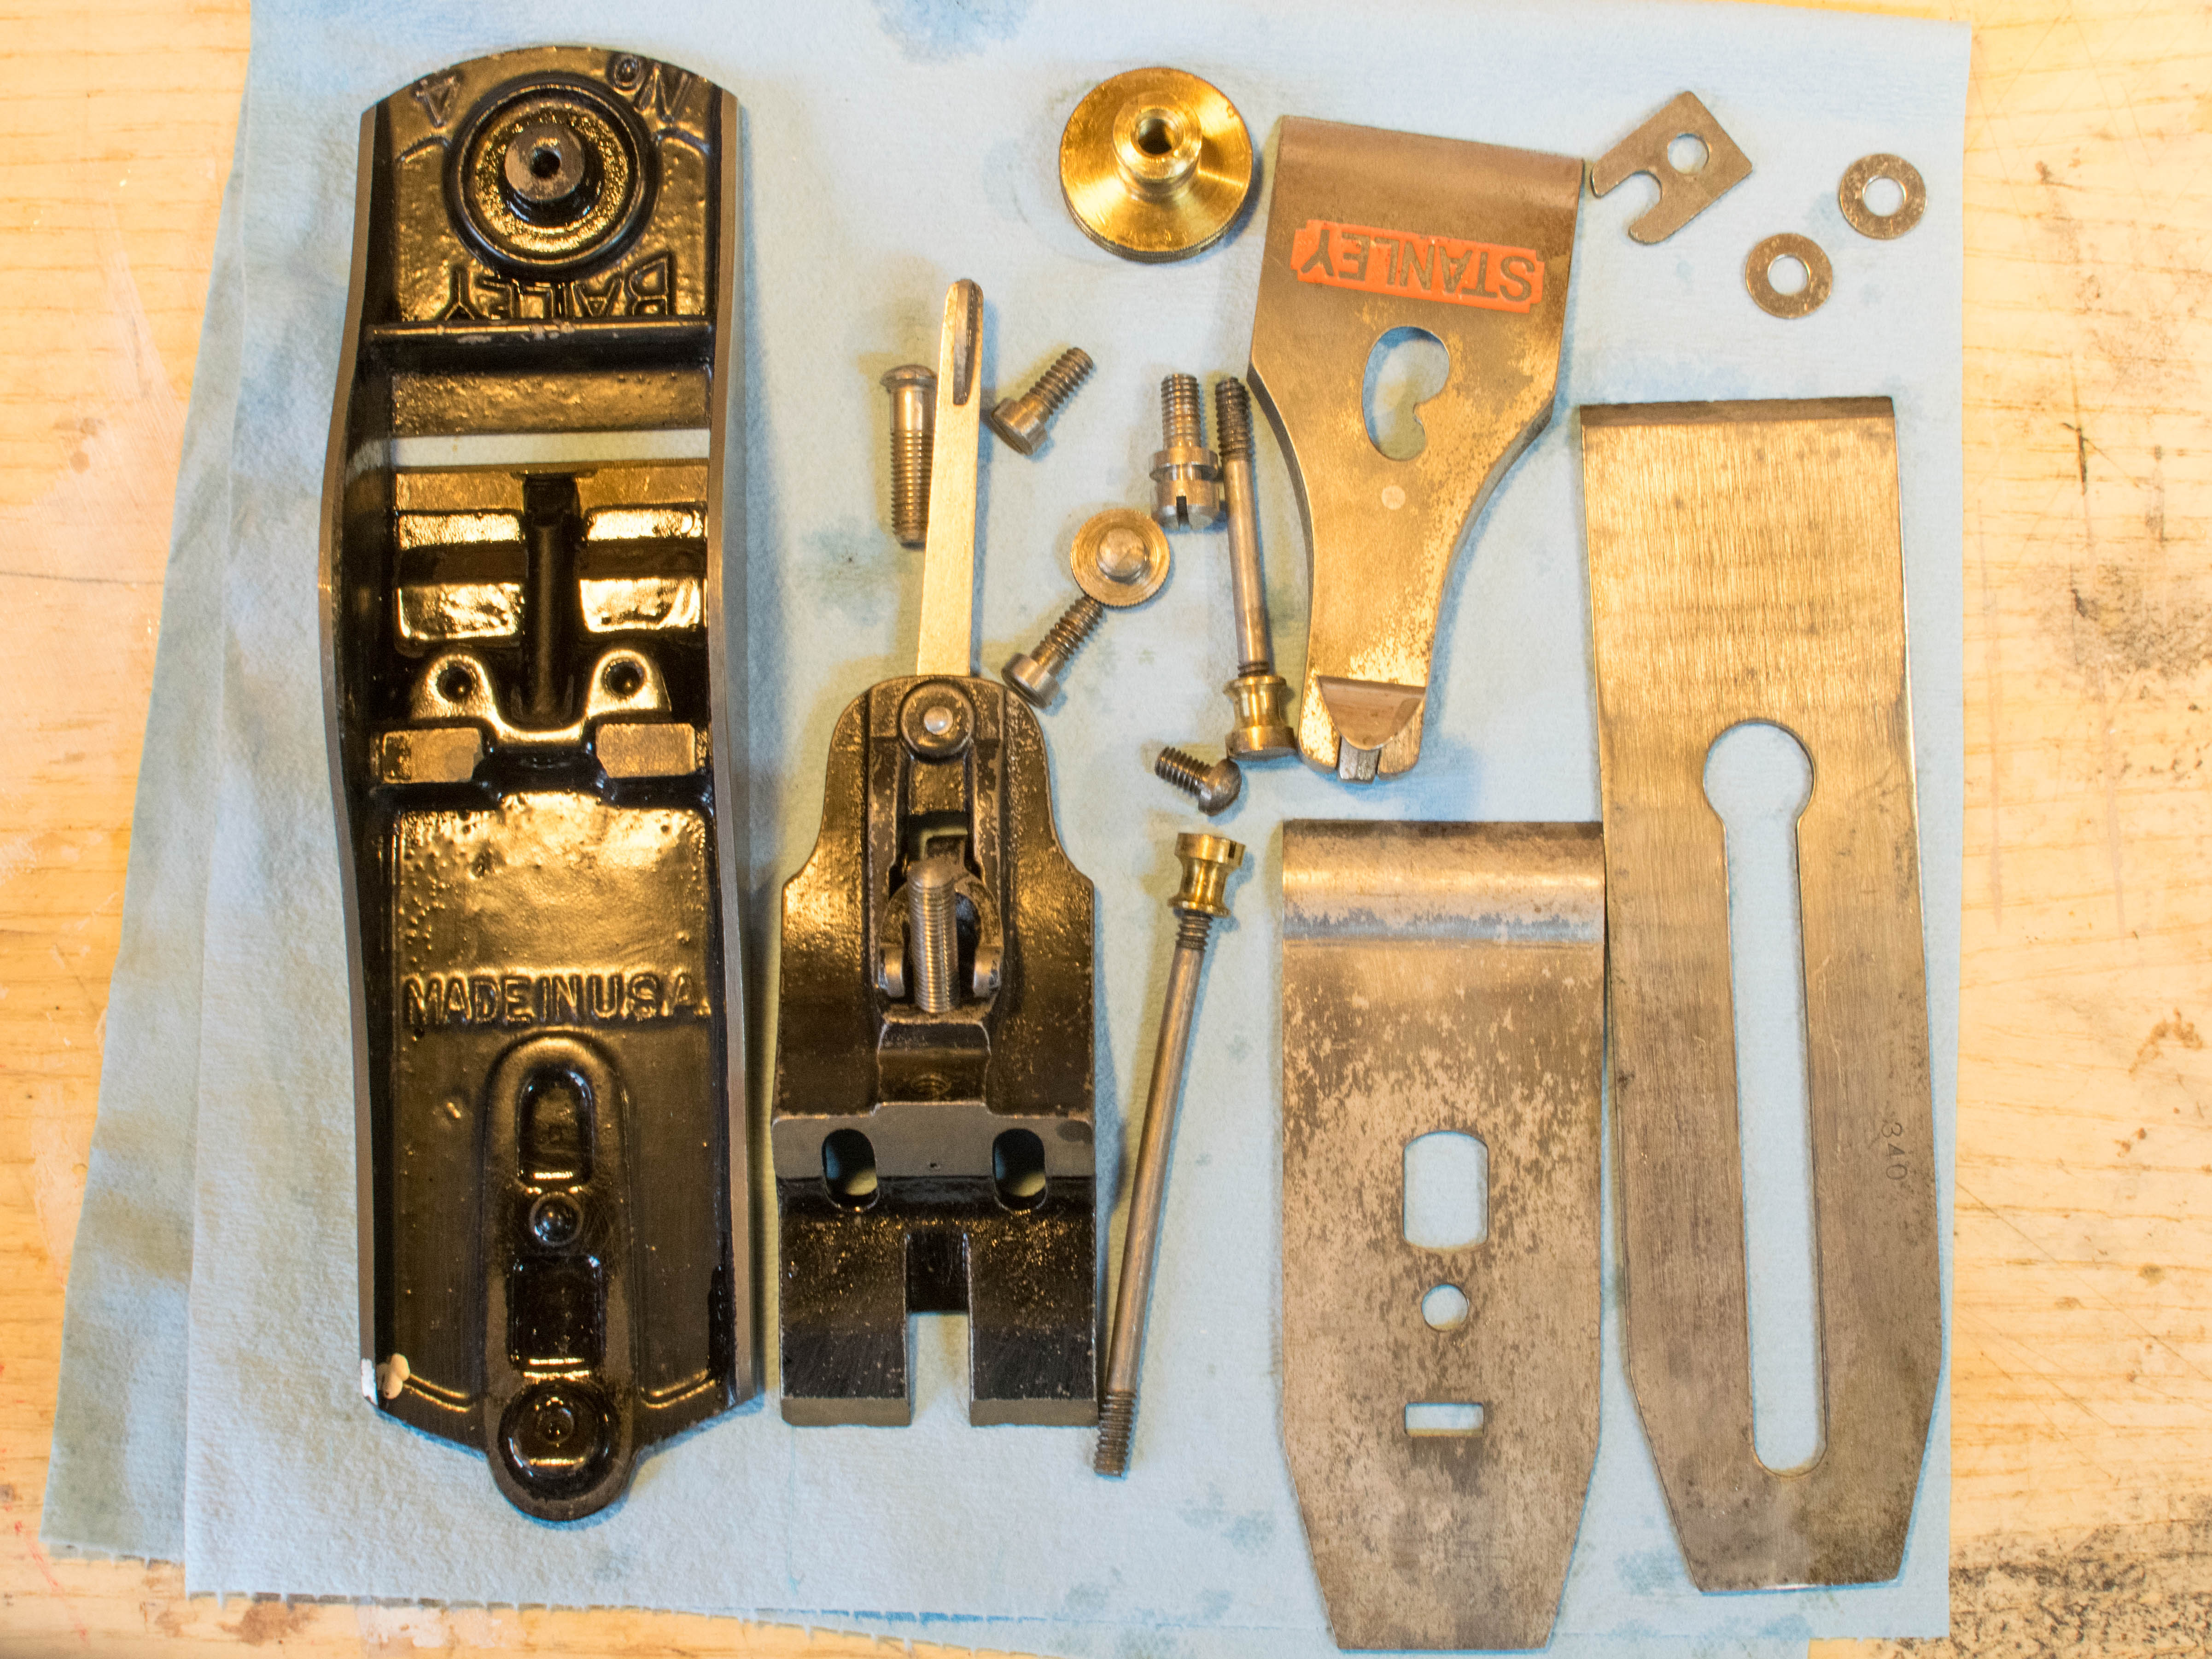
The first thing I did is take it apart and give it a good cleaning.
Then I left it soaking on a bath of Evapo-Rust overnight.
The next day I took out the pieces and cleaned them up with mild detergent and a soft scrub.
I spent a lot of time using sand paper to clean up the metal. I used 150, 220, 400, 800, 1500 and 3000 grits. I also used a small cotton buffing wheel with green compound on my dremel in the end to give it the end finish. The result is not perfect but it’s good enough for me, at least for the level of equipment and time I want to spend in this operation.
My bench was a bit of a mess after a couple of hours of sanding.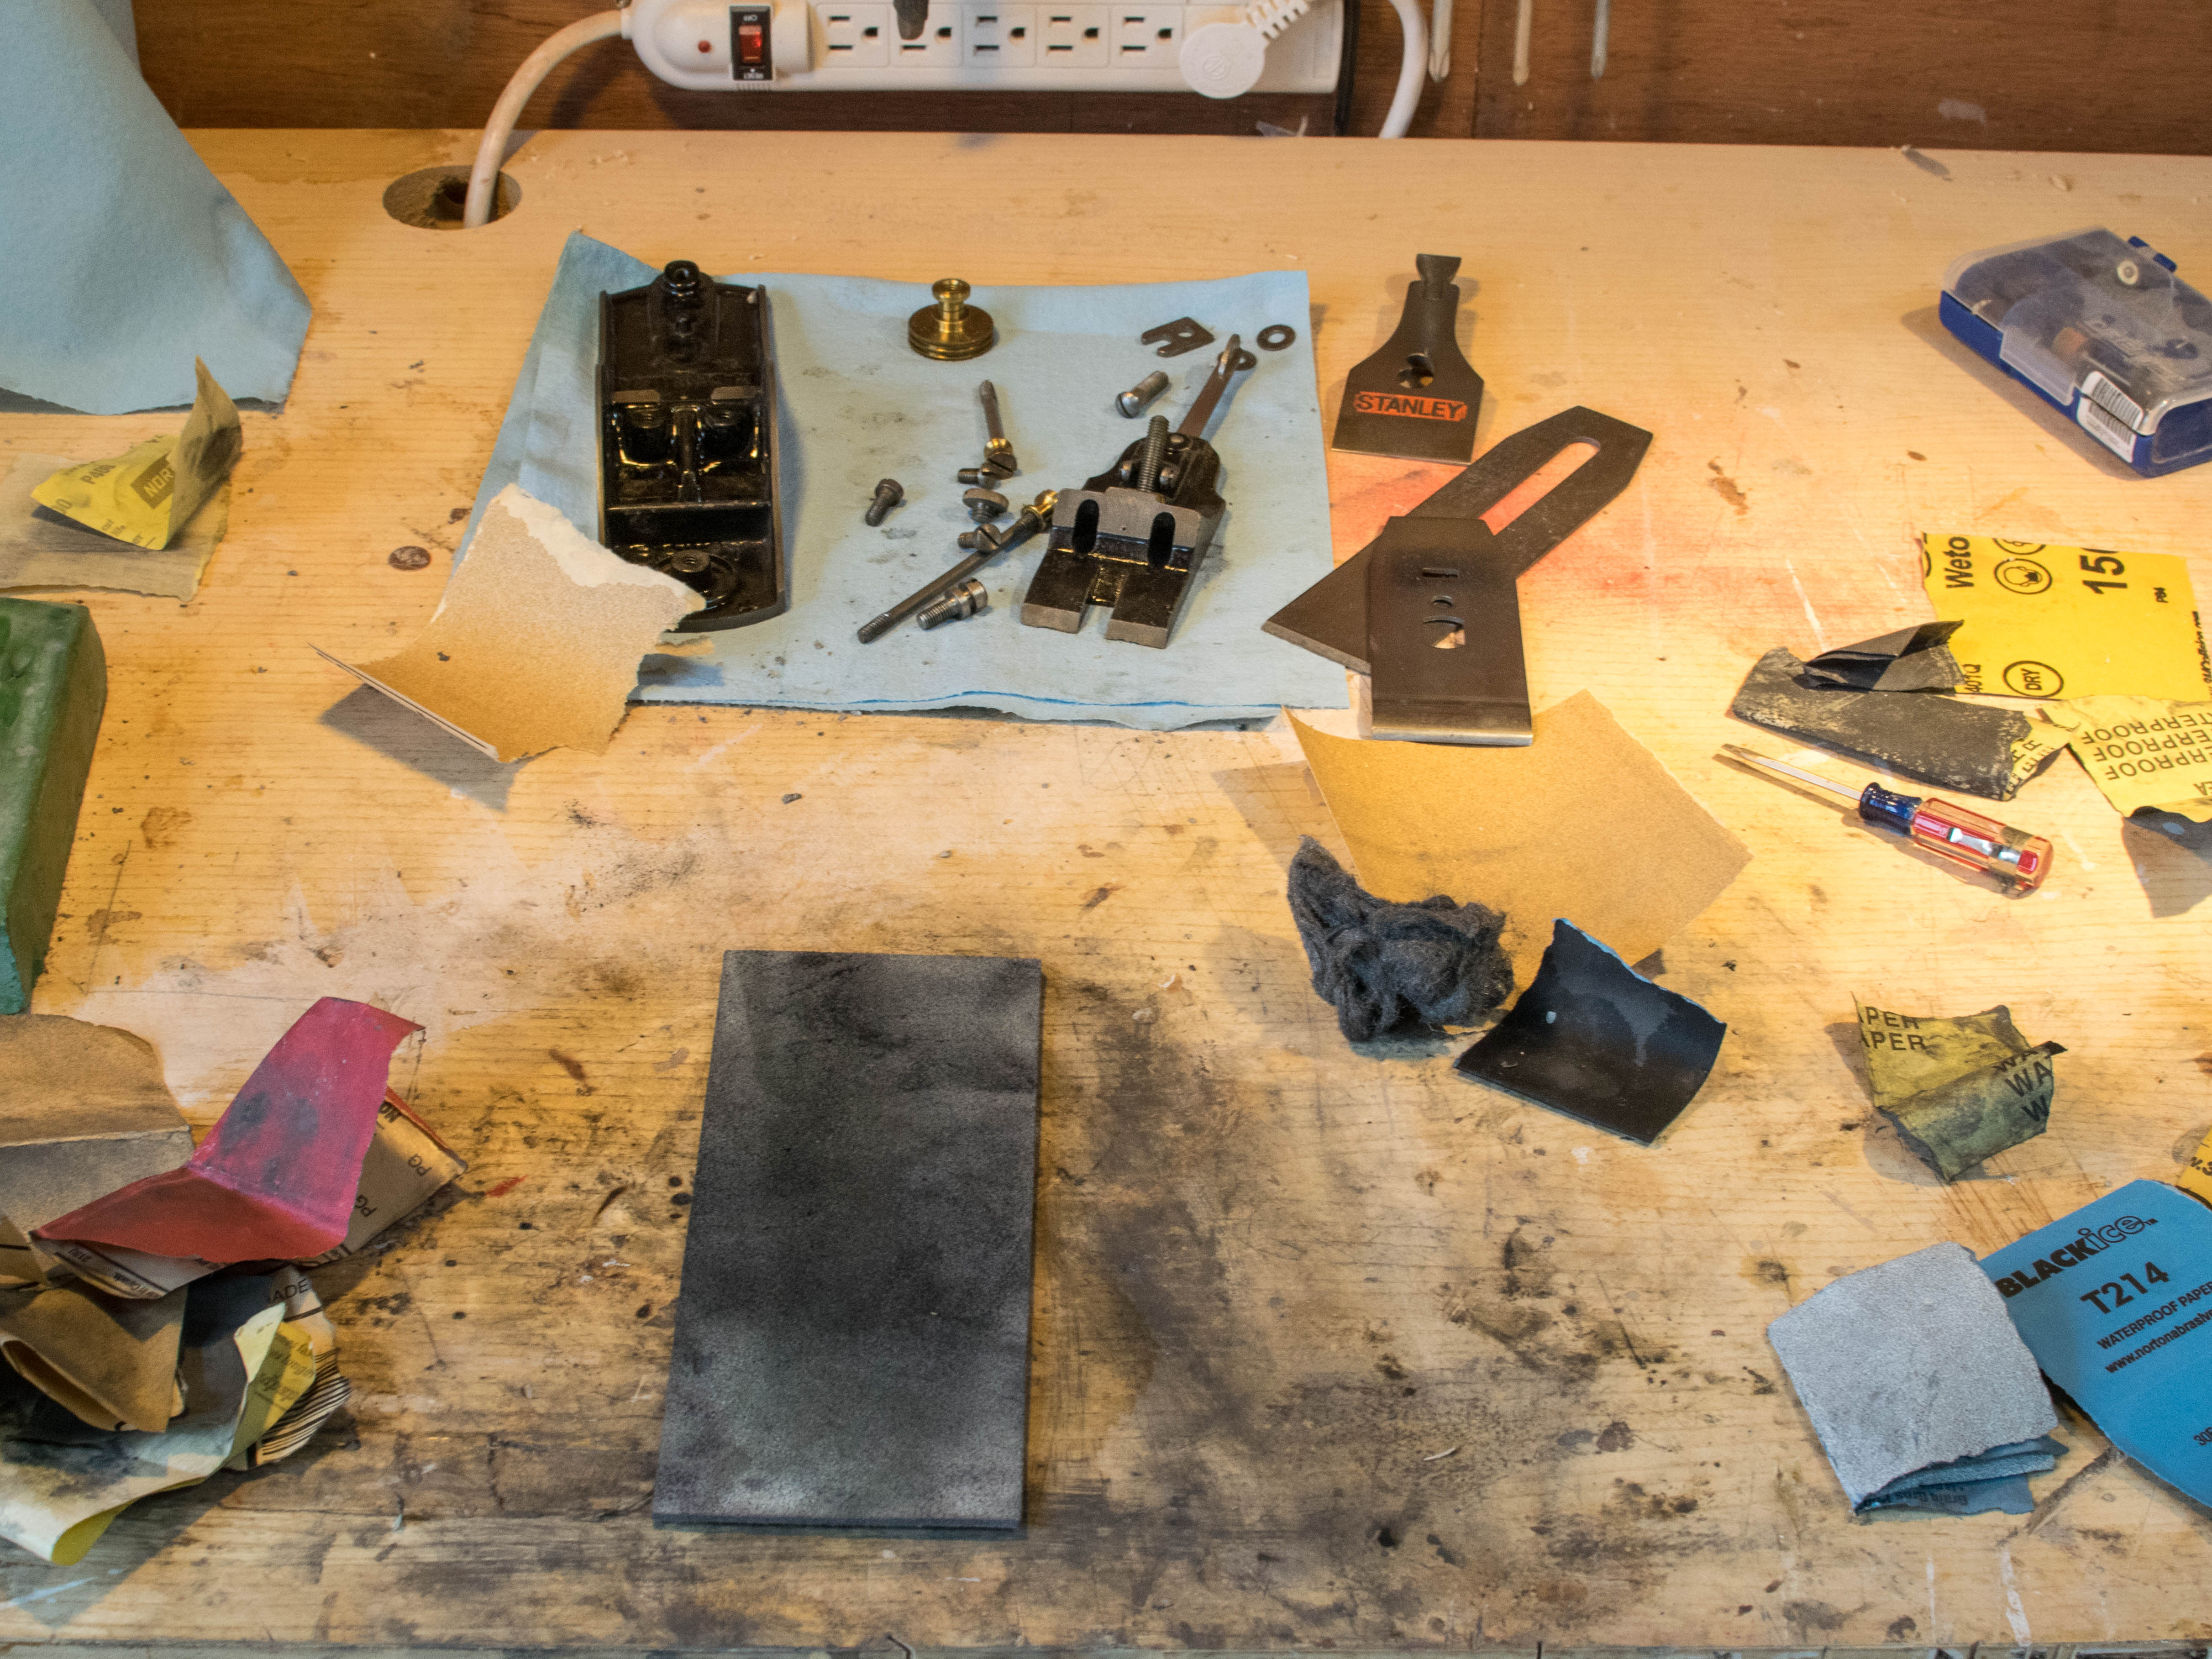
I put it all back together and added a bit of oil on the screw treads just for good measure.
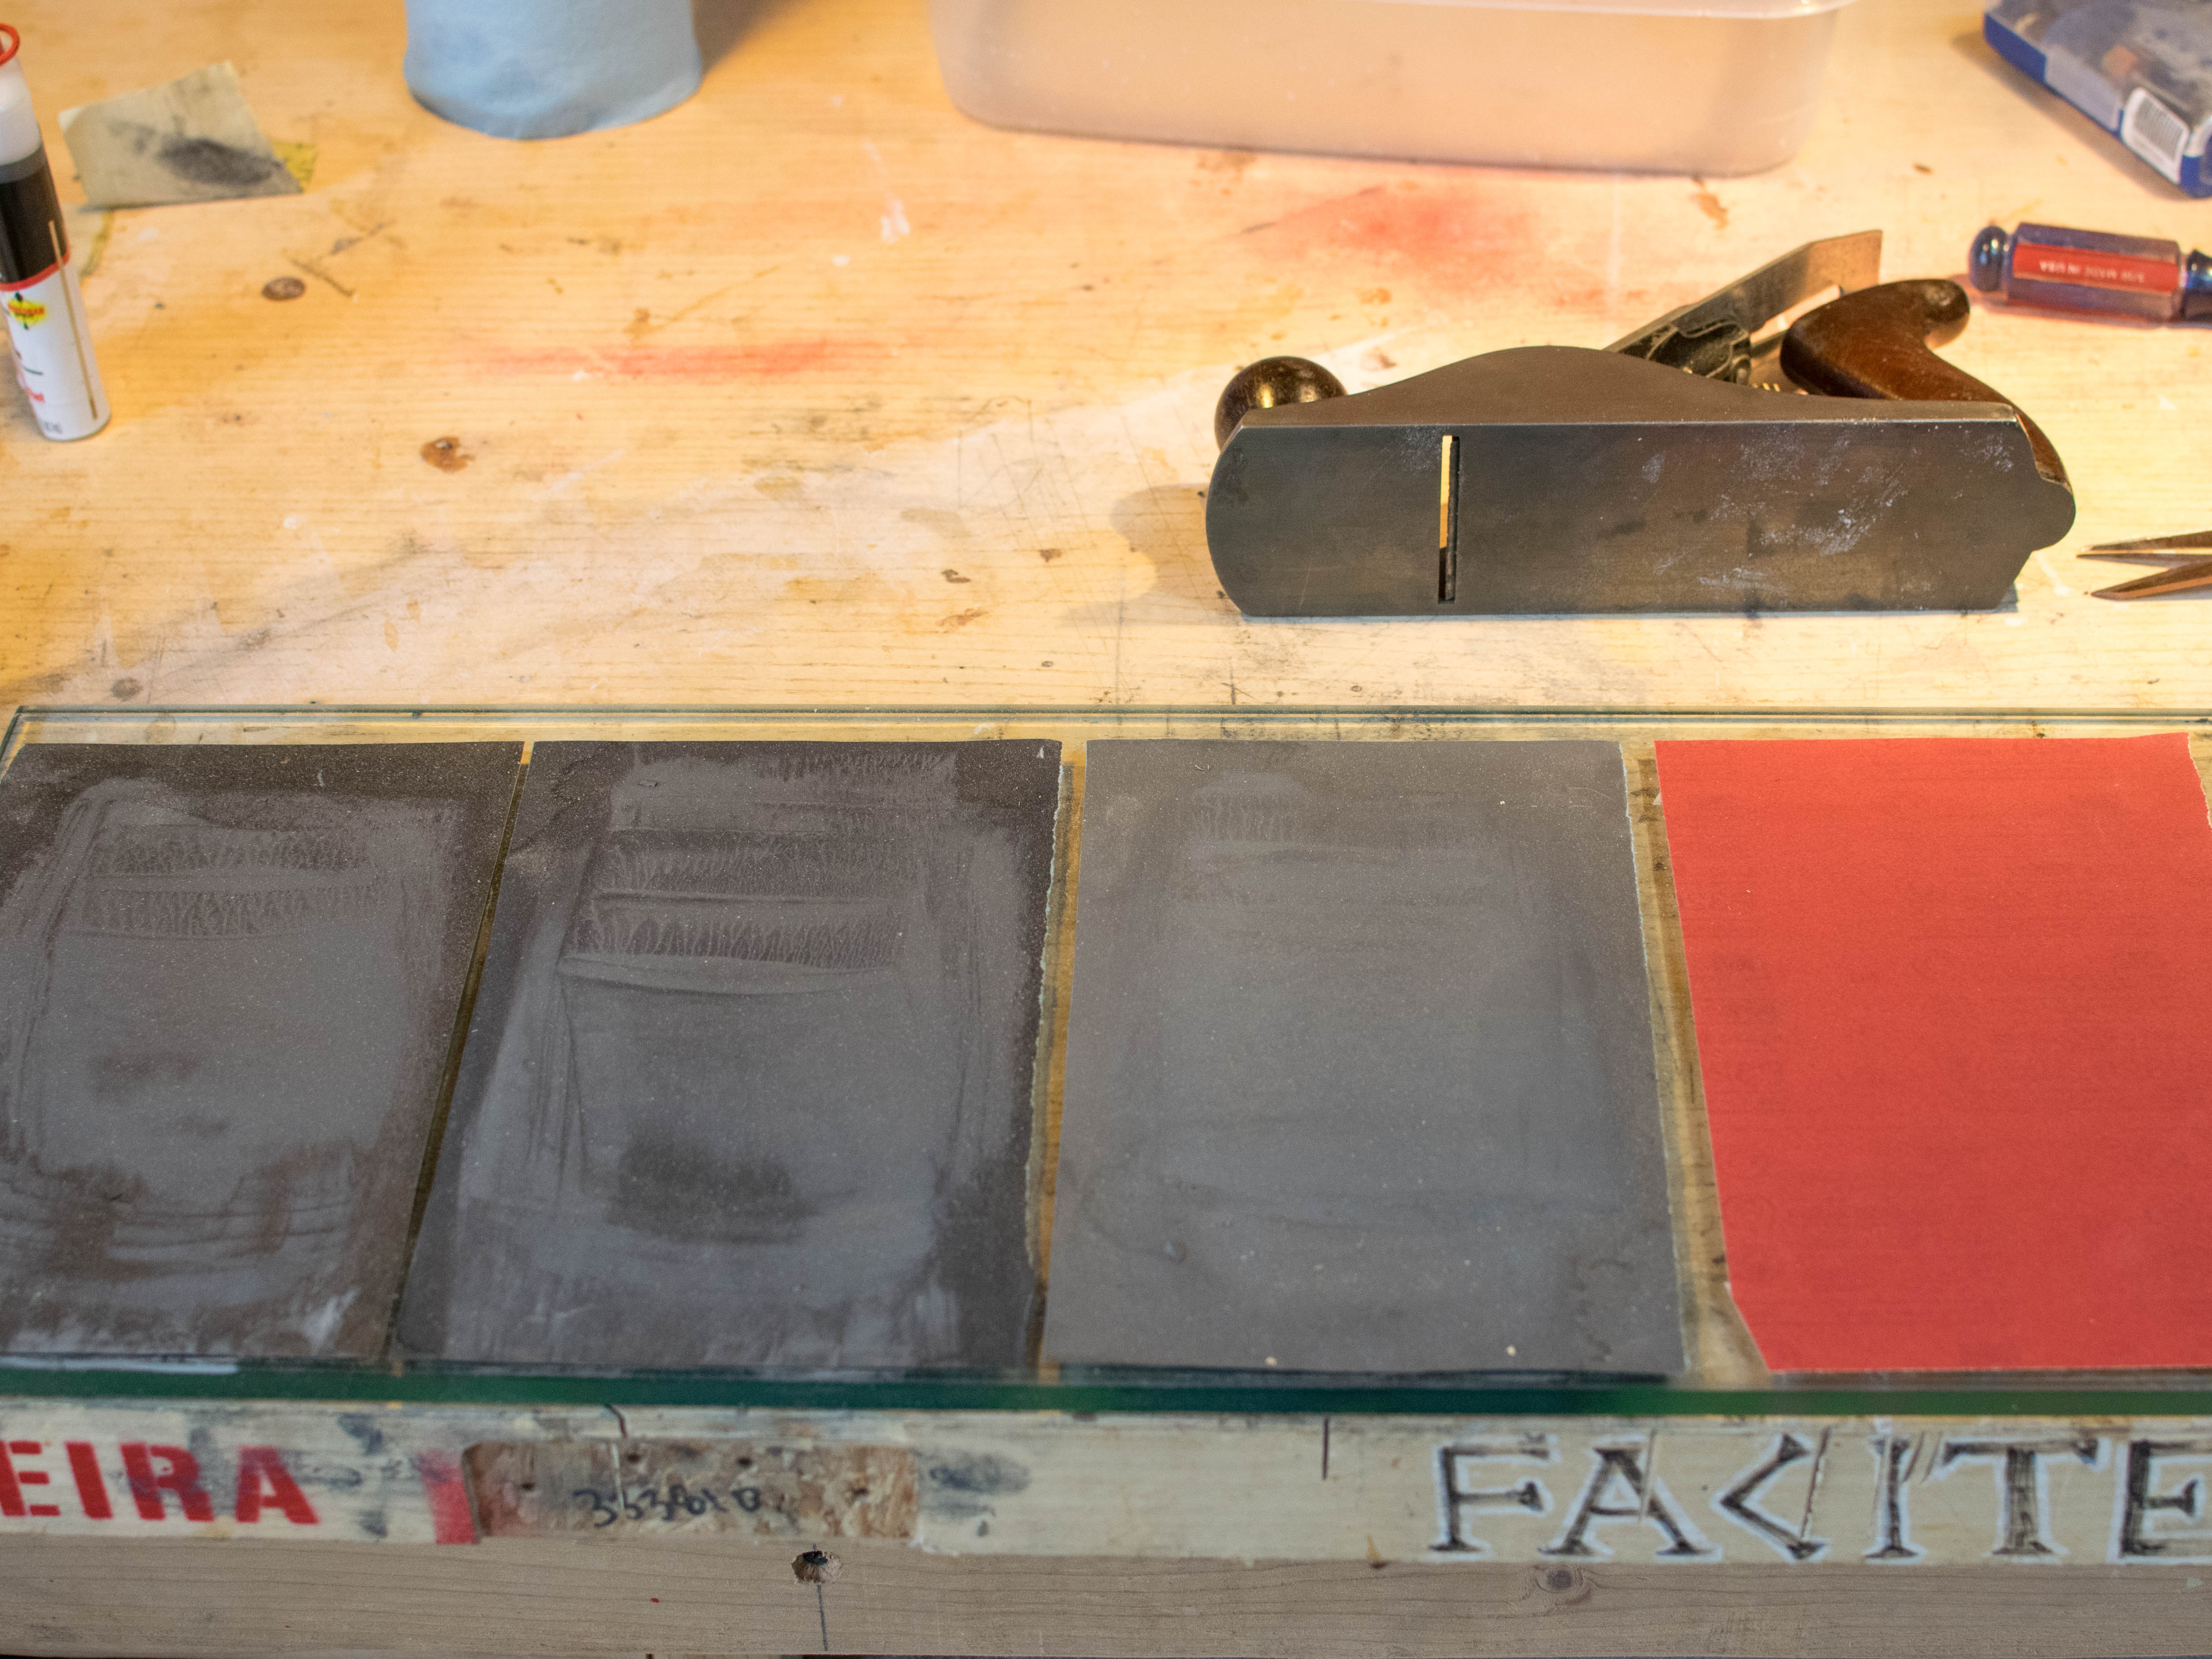
Then I moved on to flatten the base, which also wasn’t in a great shape.
For that I use a glass with different grits of sandpaper stuck to it using double sided tape.
Then I gave it a quick sharpening. Here I was really starting to rush it because I really wanted to try it on wood, but I’ll give it a better sharpening later on, and learn how to camber it as well, which I didn’t this time.
For my sharpening I started by flattening the back of the blade and then setting the bevel to 25 degrees using a jig on my DMT diamond stones.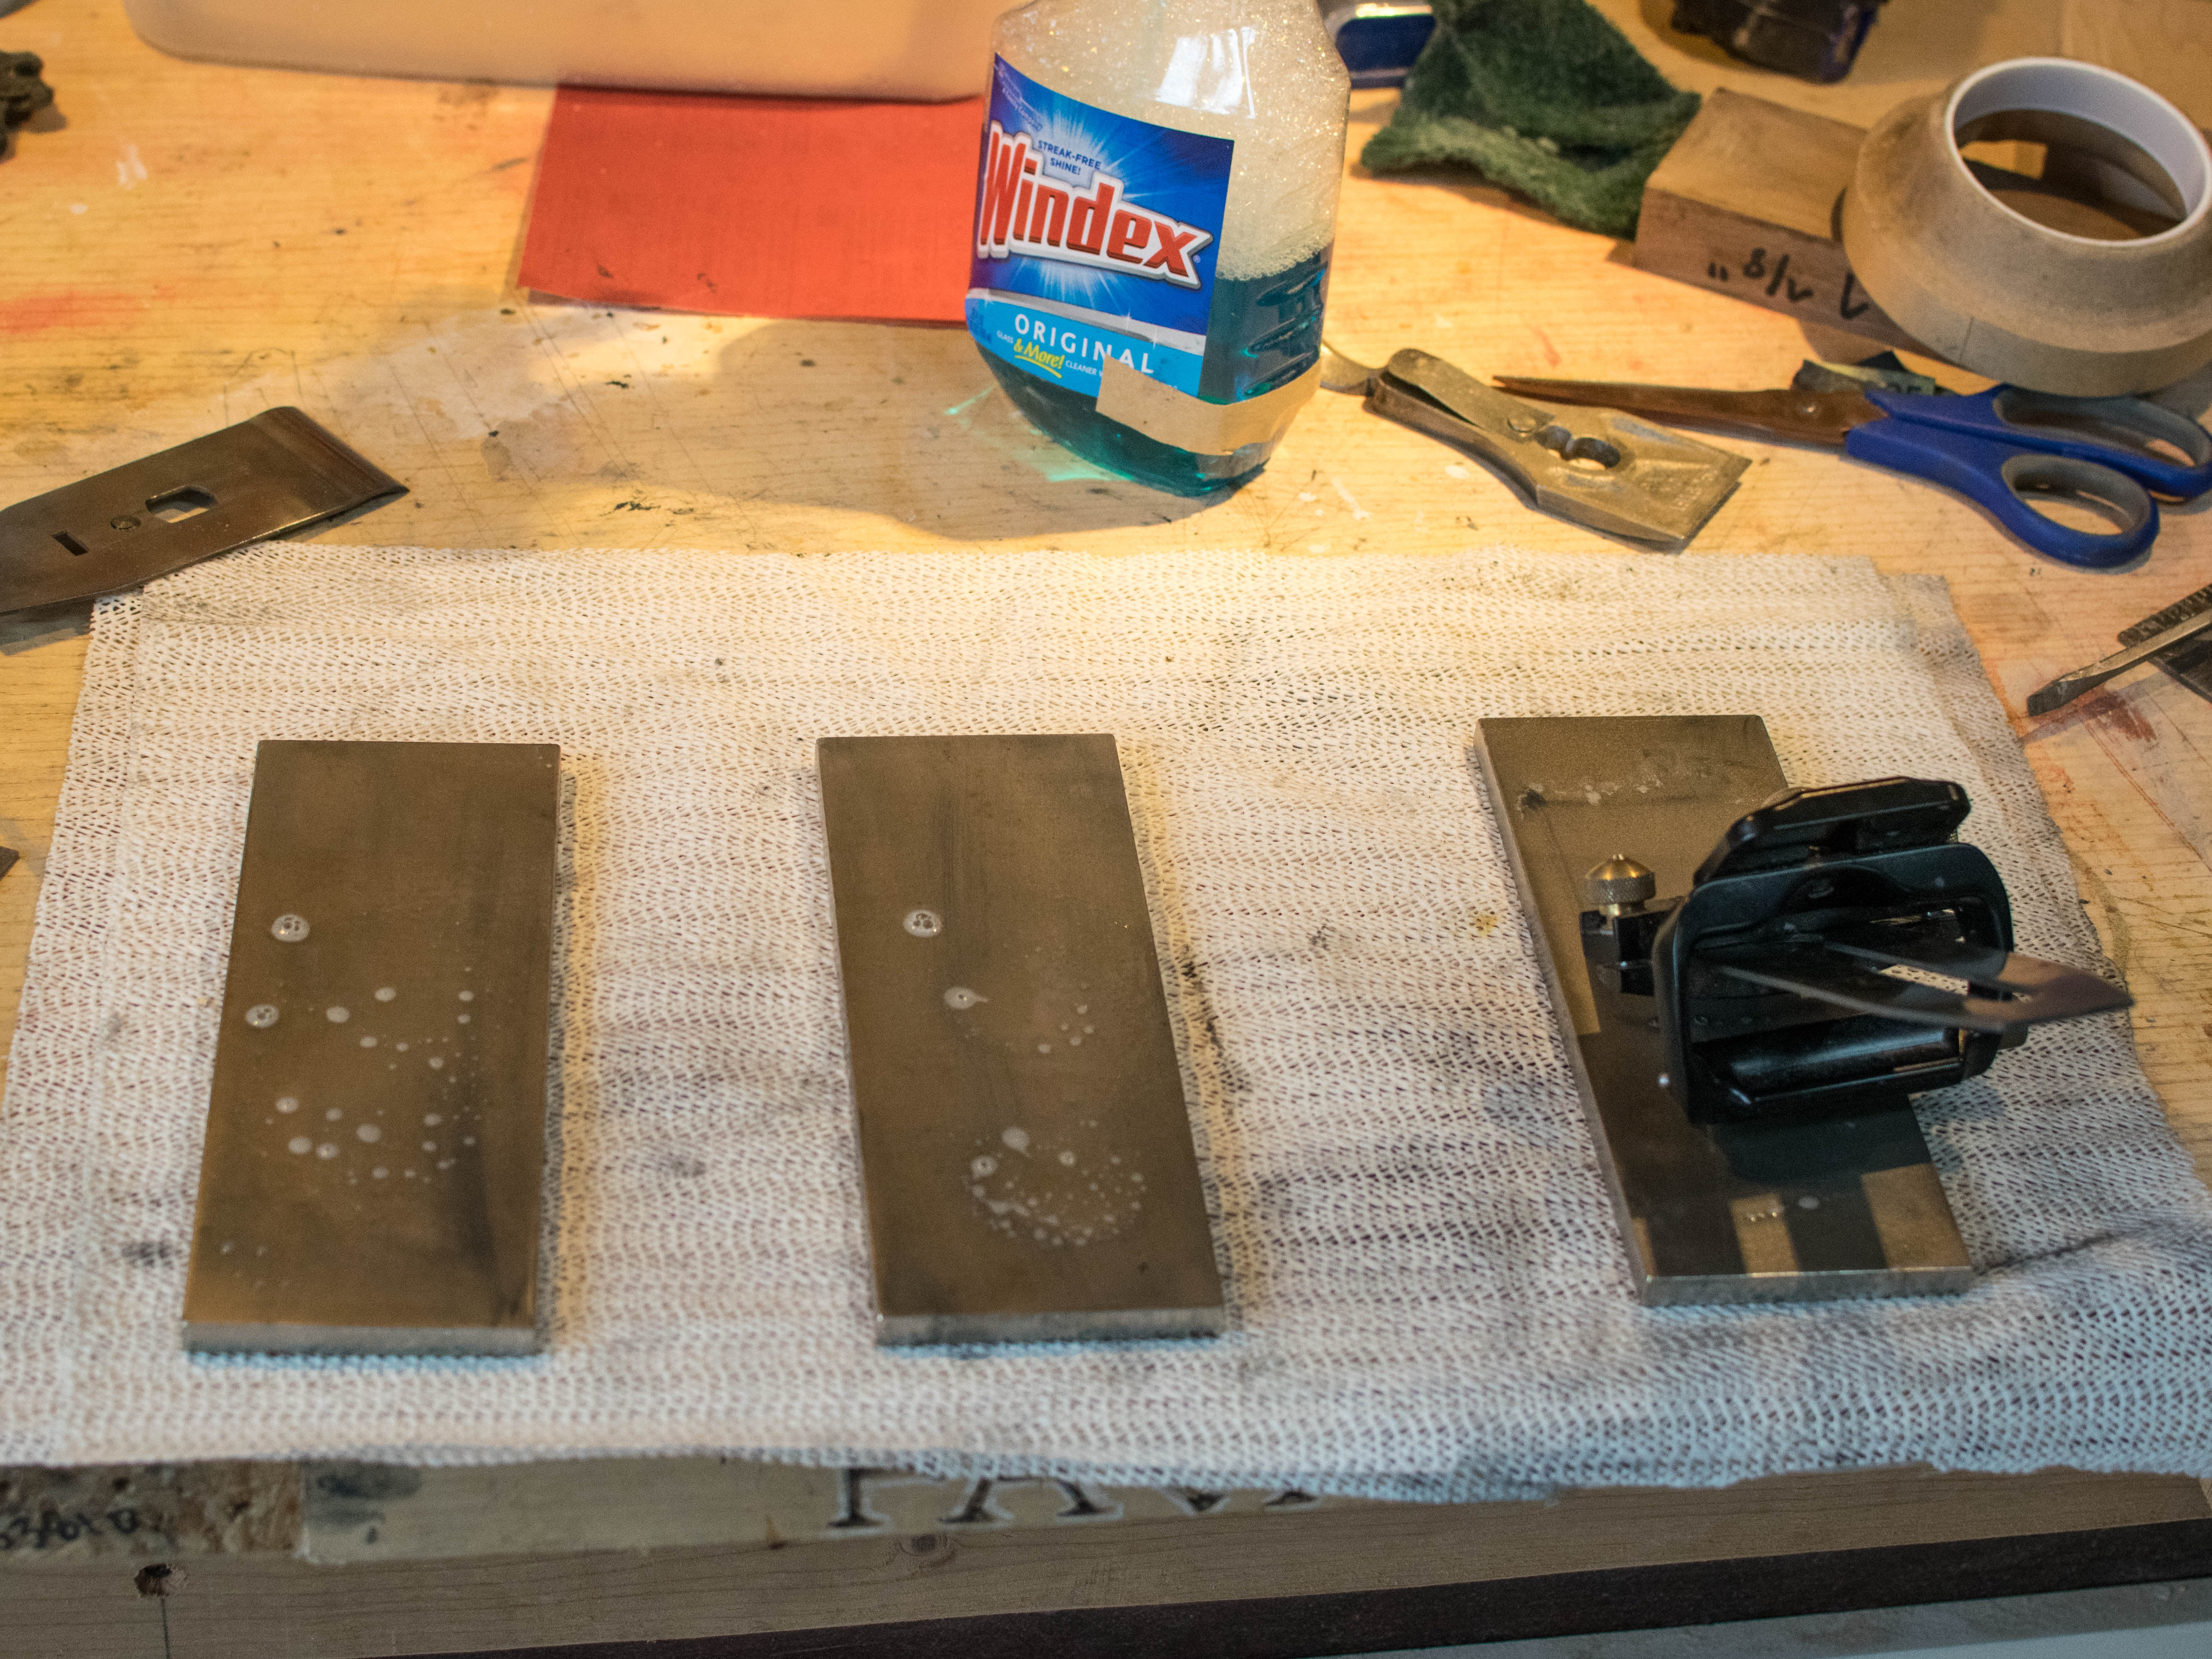
Then I end with 4000 and 8000 grit Japanese water stones. The 8000 one in particular gives it an amazing razor-sharp edge.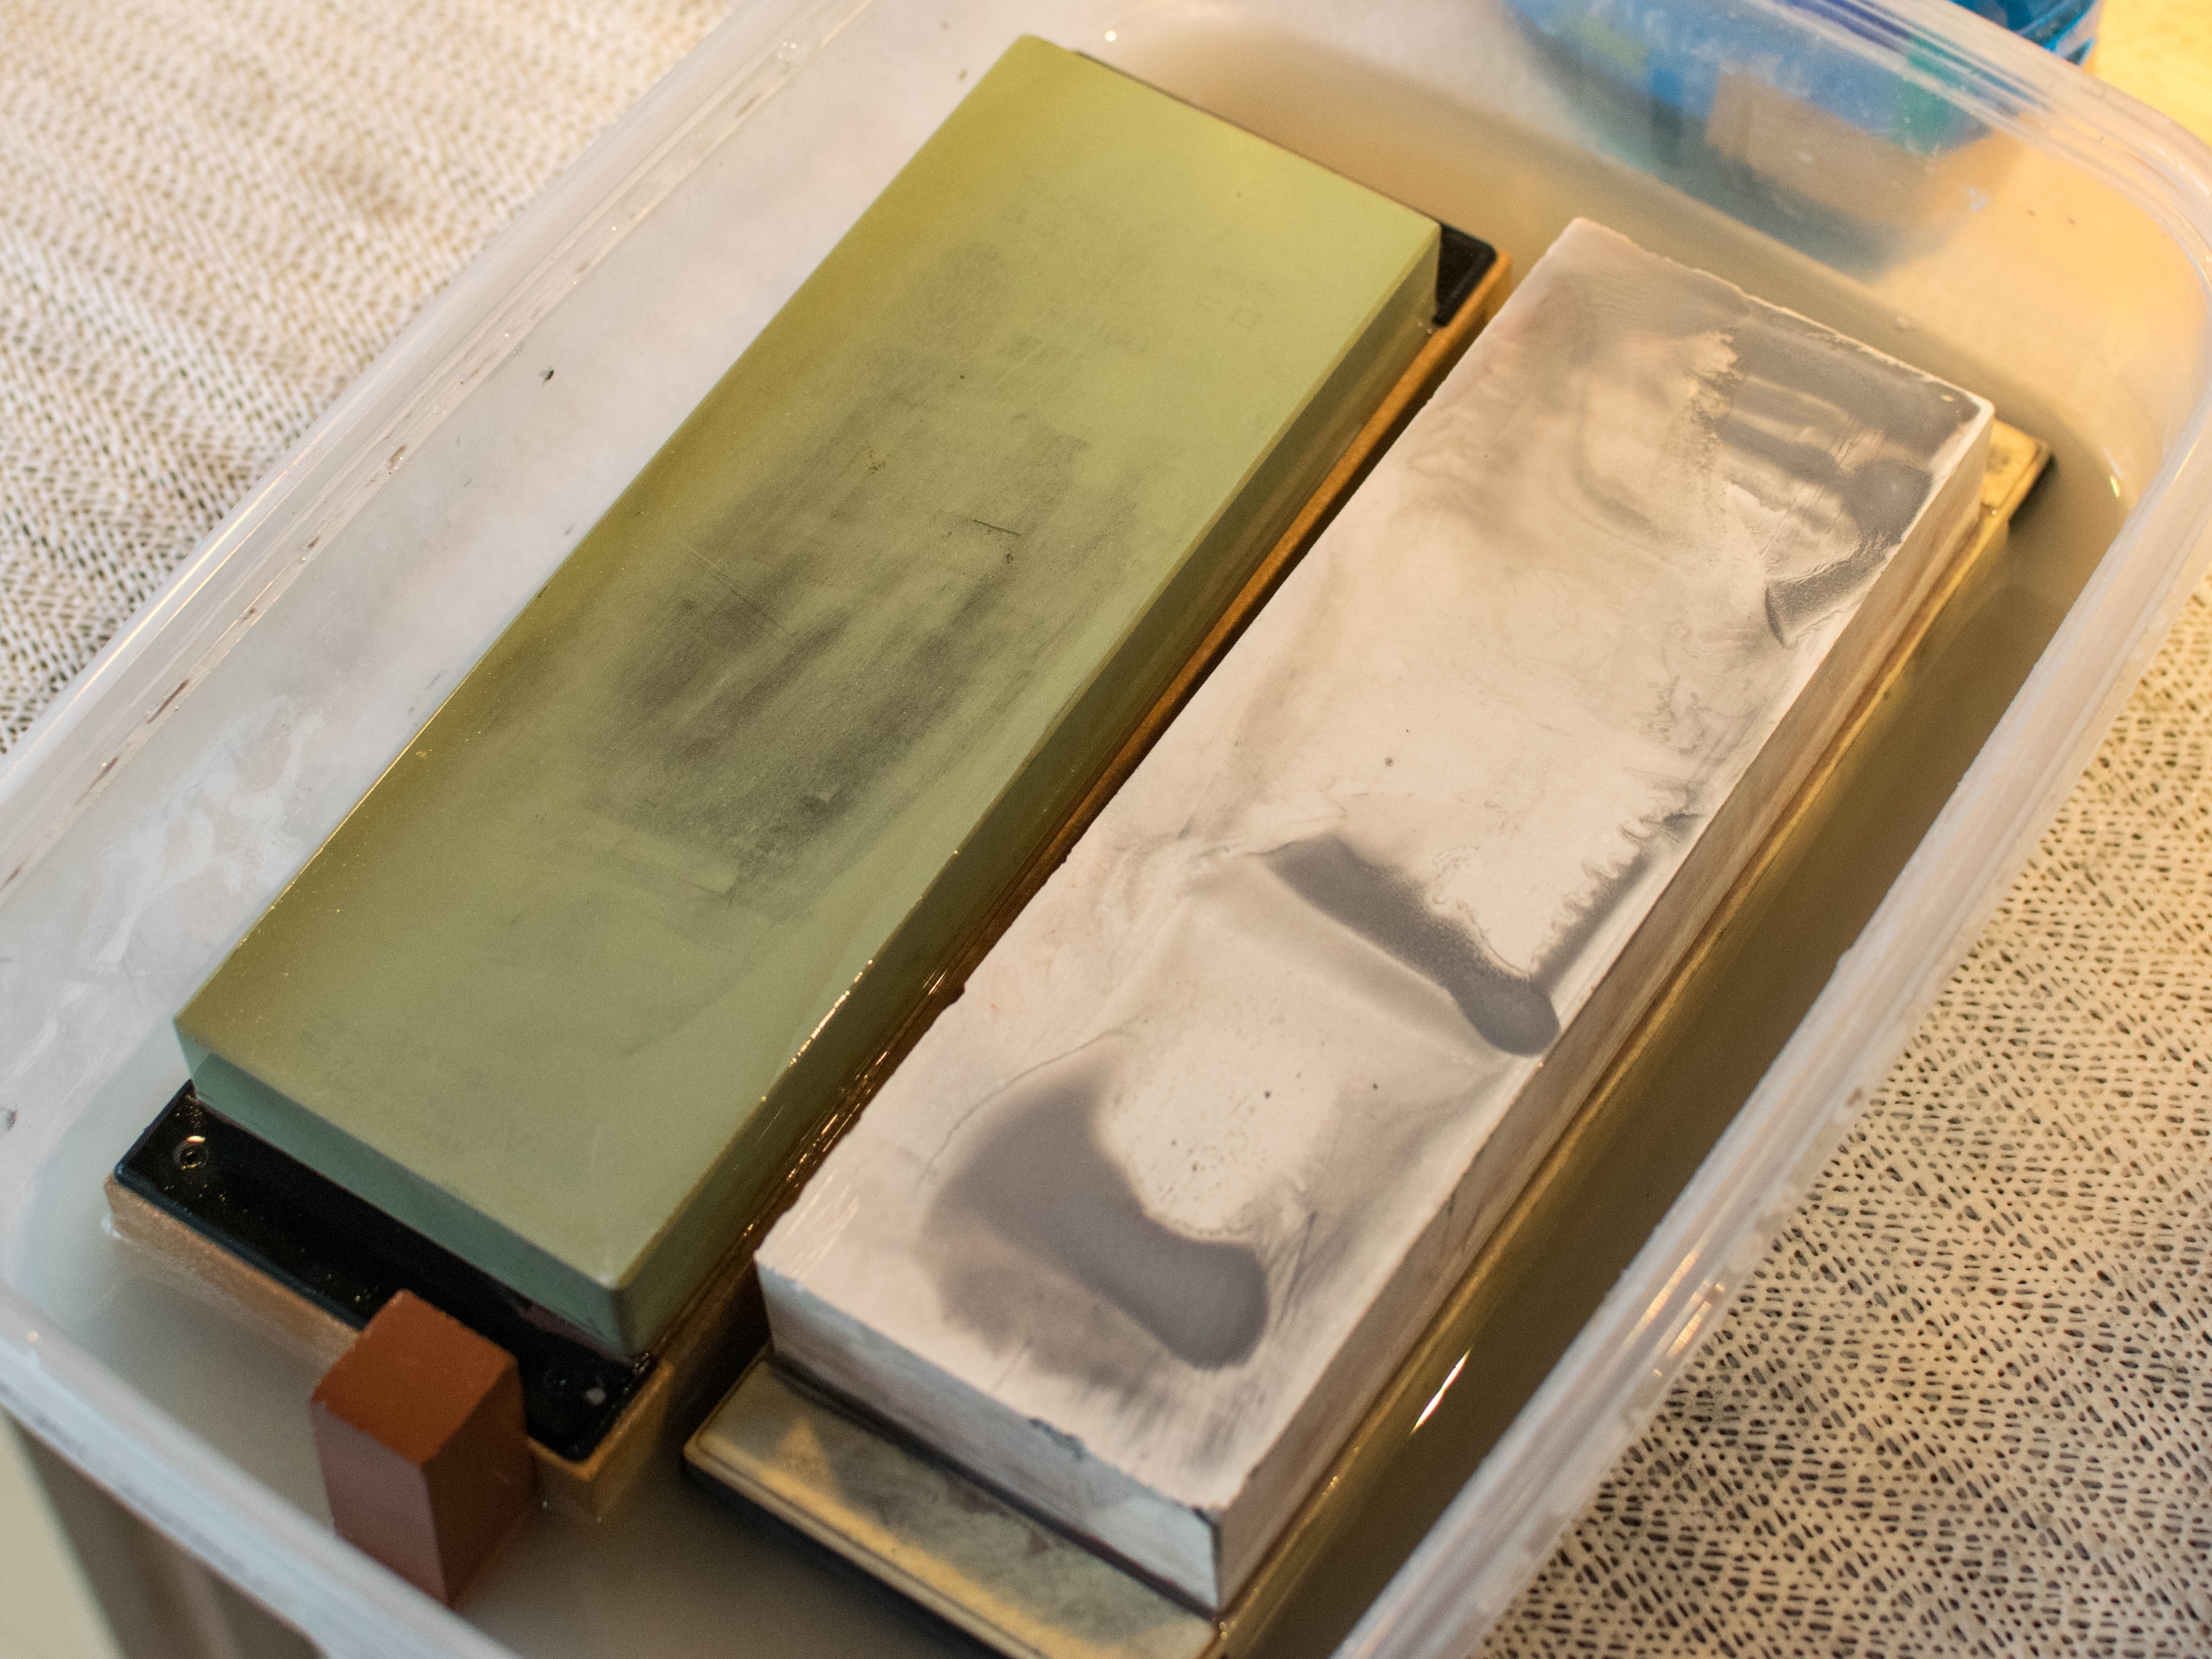
I end with a few passes on a leather strop with green compound.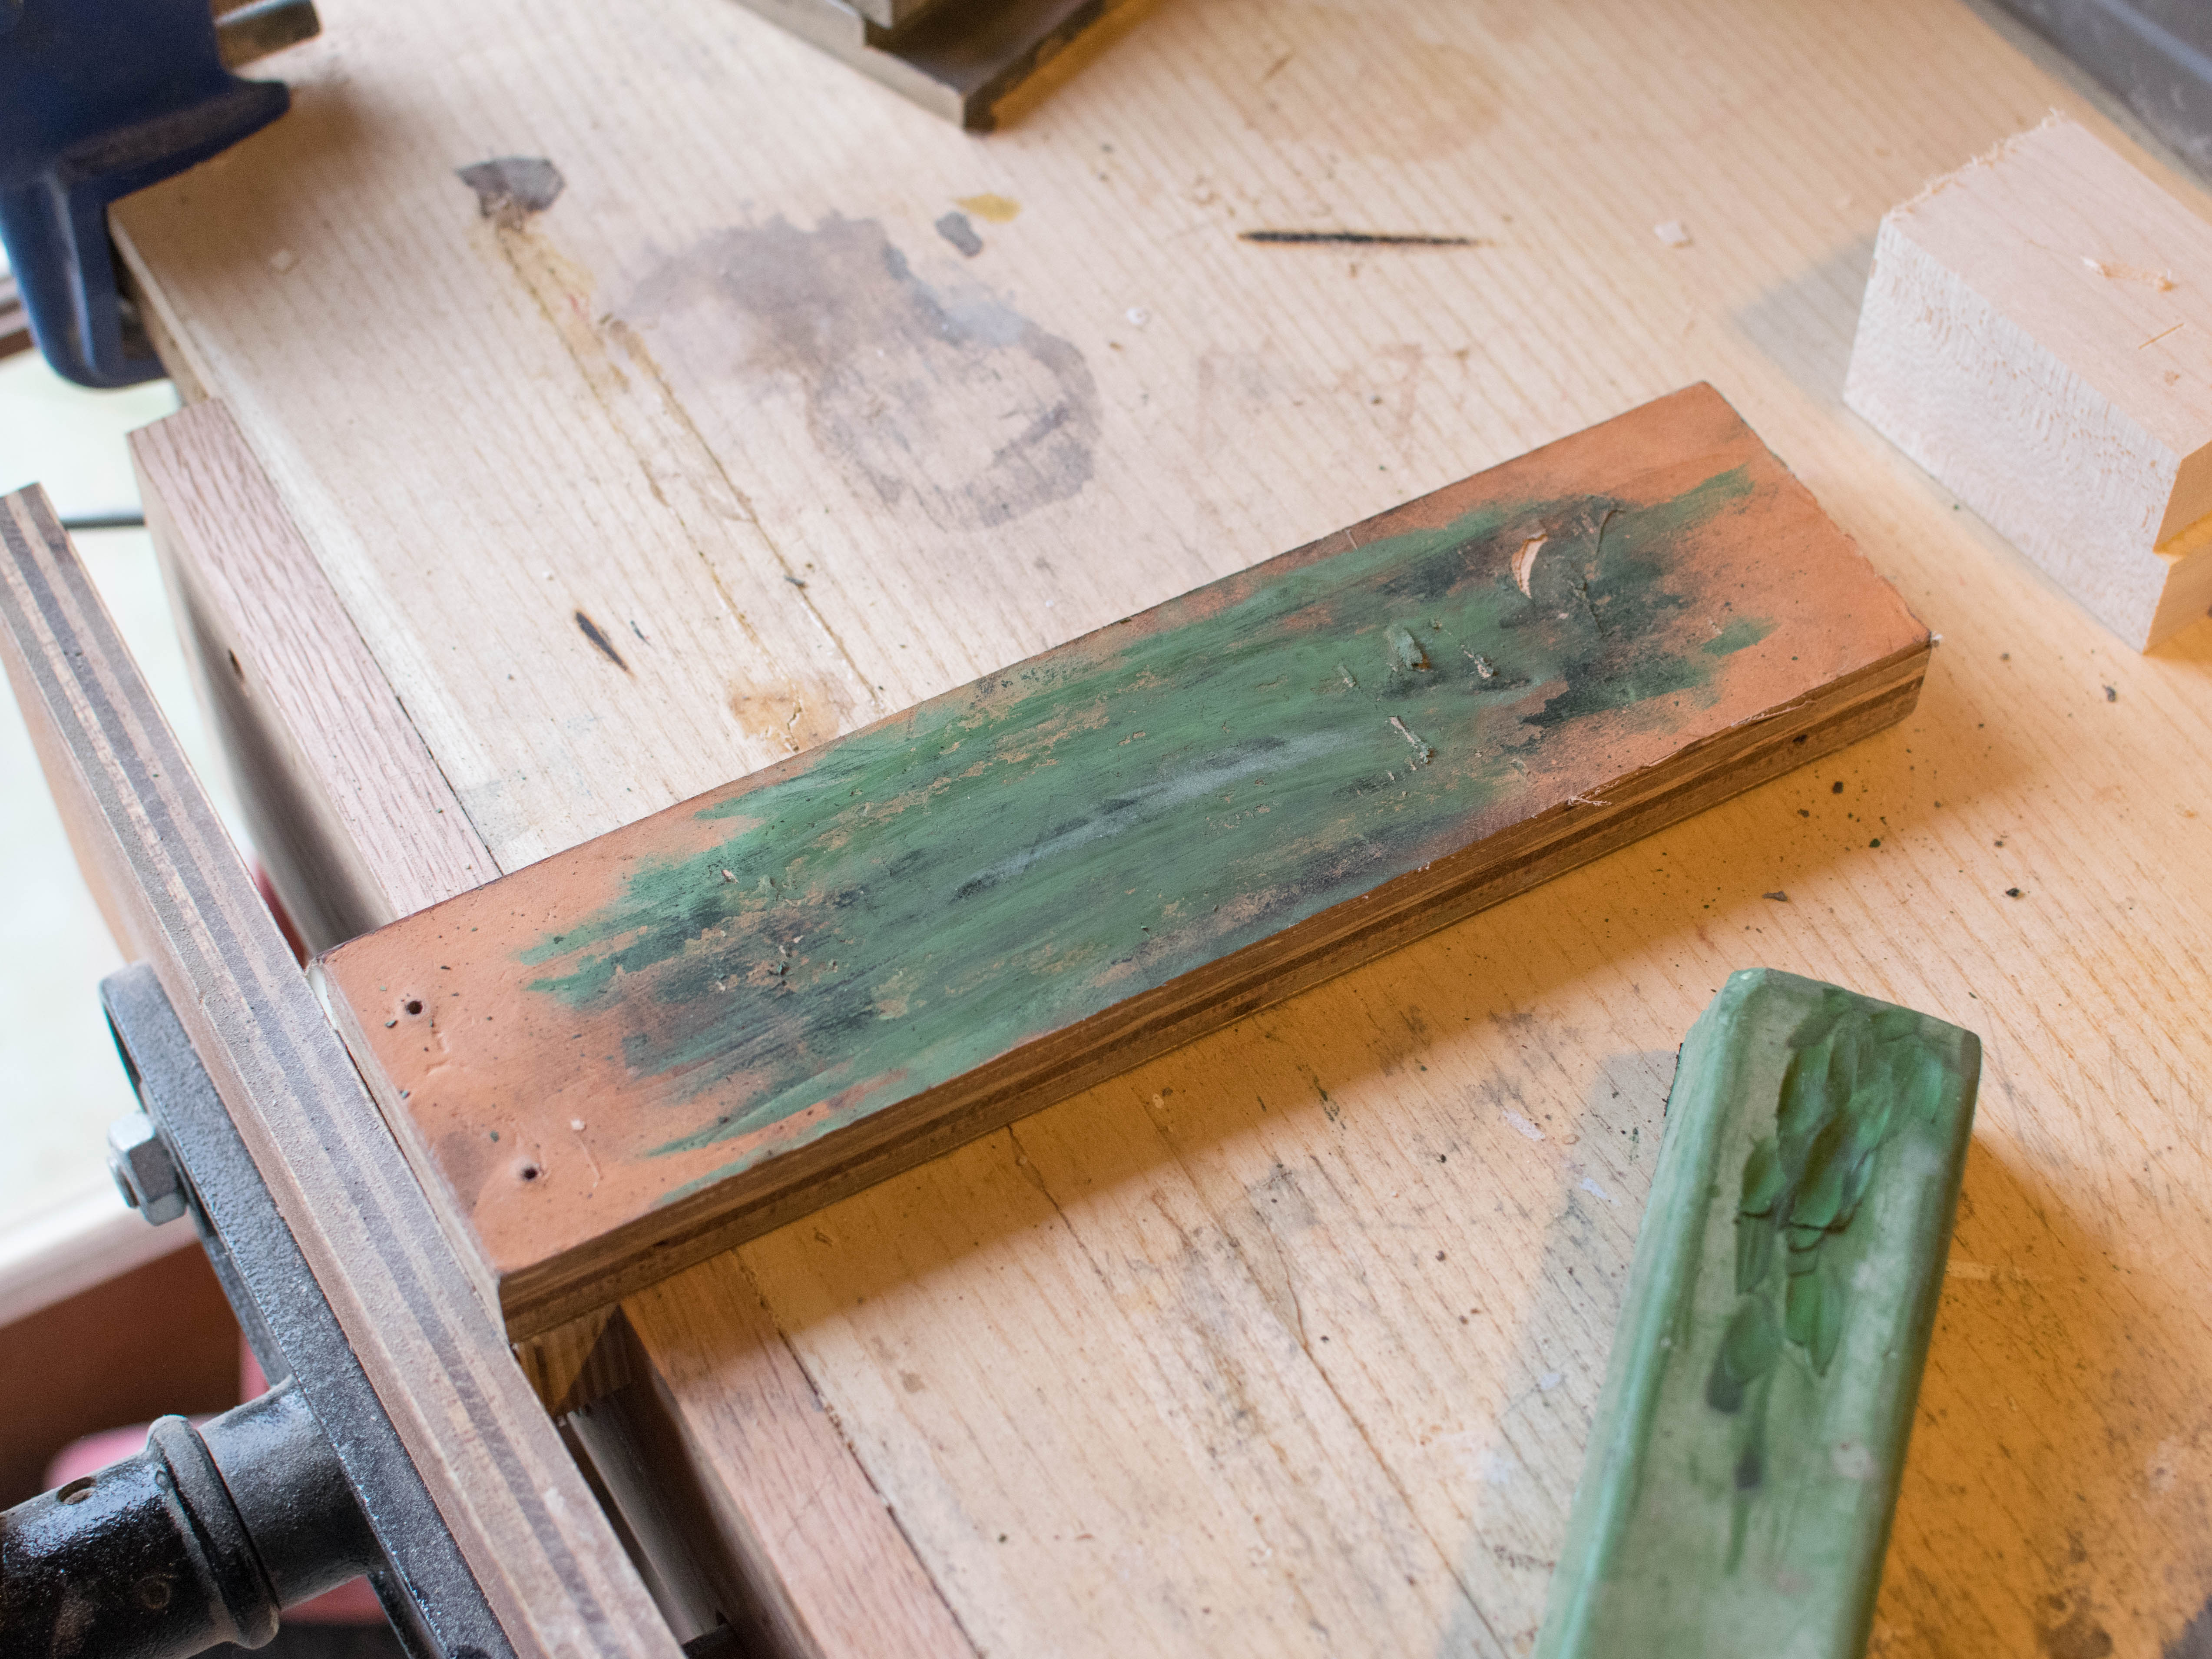
This got the blade super sharp.
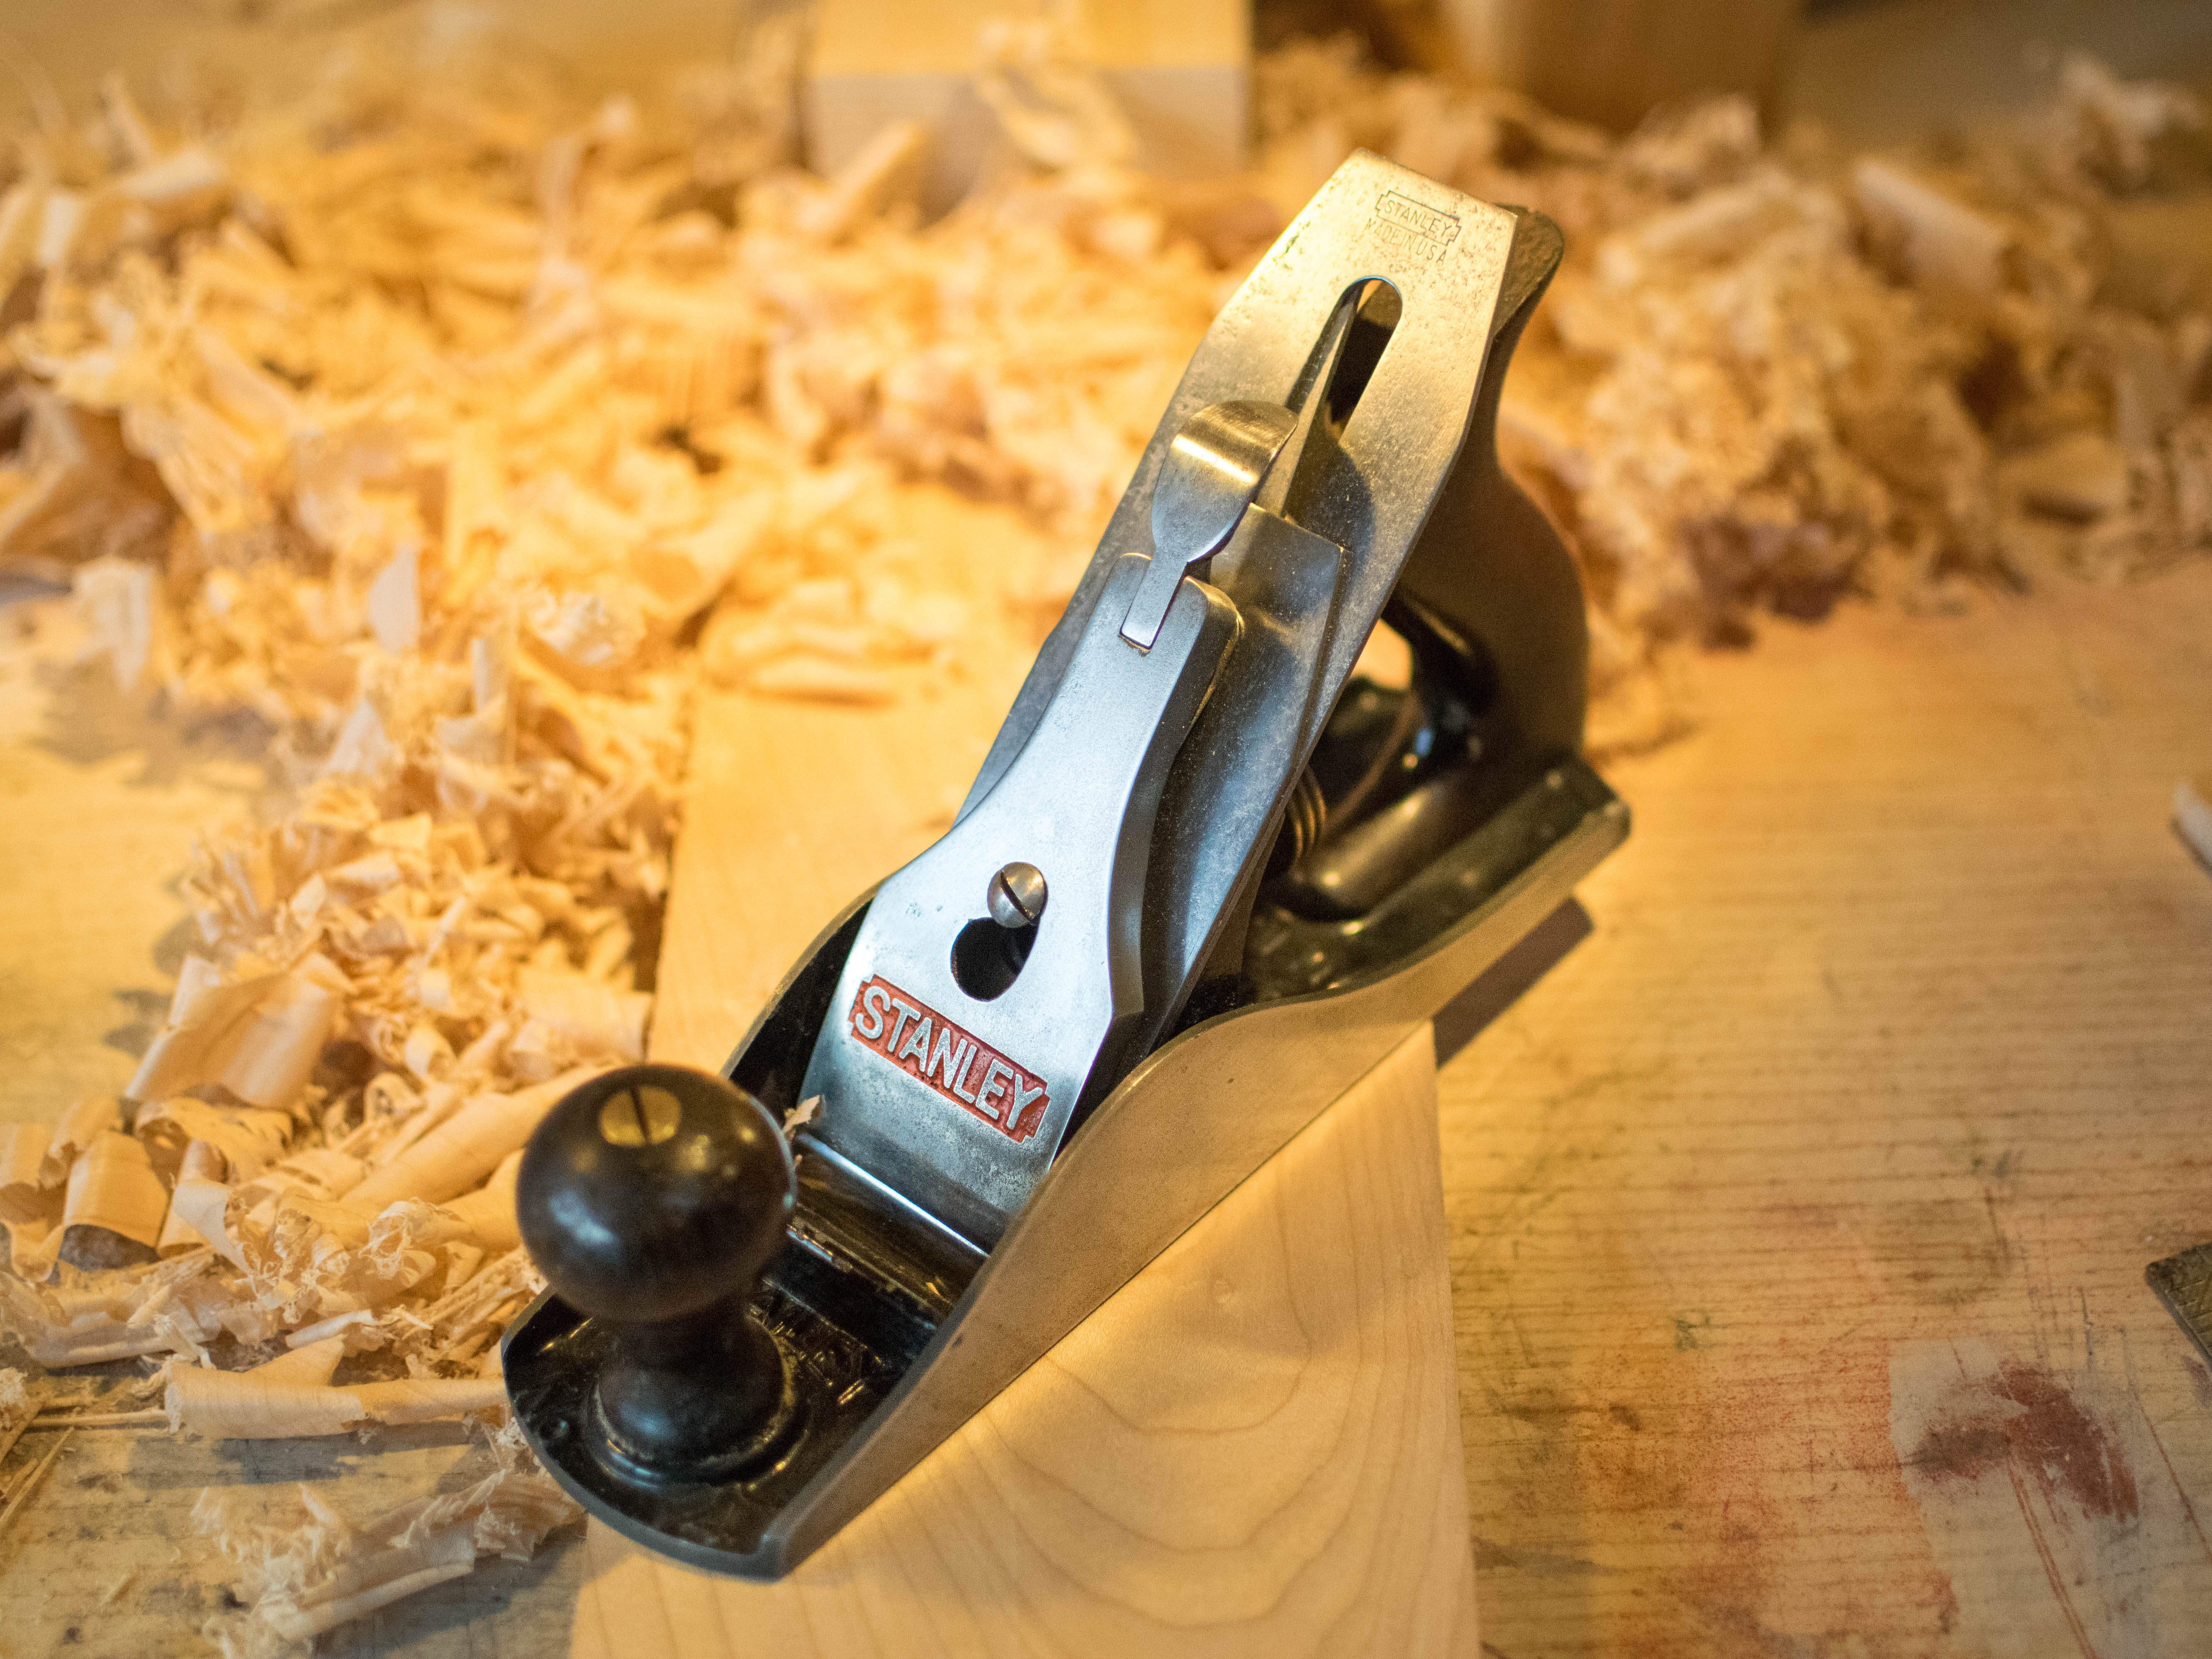
It turned out looking like new in the end, and it works beautifully.