I have been making frames for almost 10 years now. I recently took it to the next level thanks to this video from Michael Alm. I bought the plans for his framing jig and his spline jig and built them a couple of months ago. I’ve built a few jigs for the same in the past, but these are by far the best.
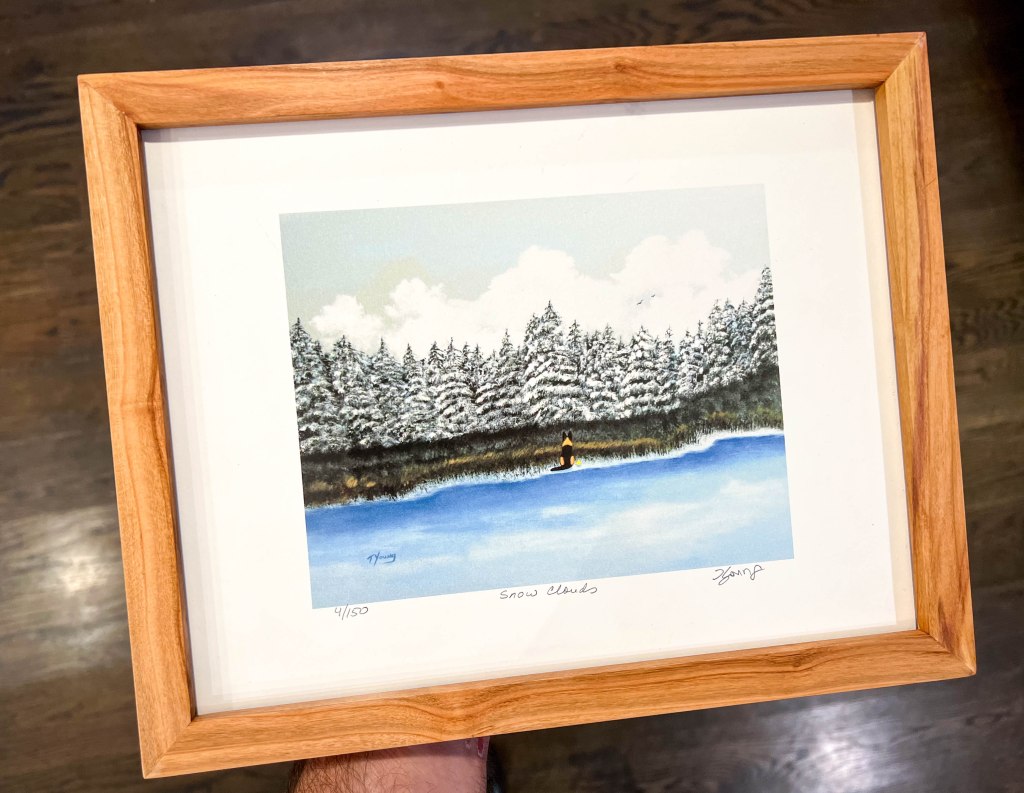
Here’s how I used his jigs and steps to build a frame for a print for my wife.
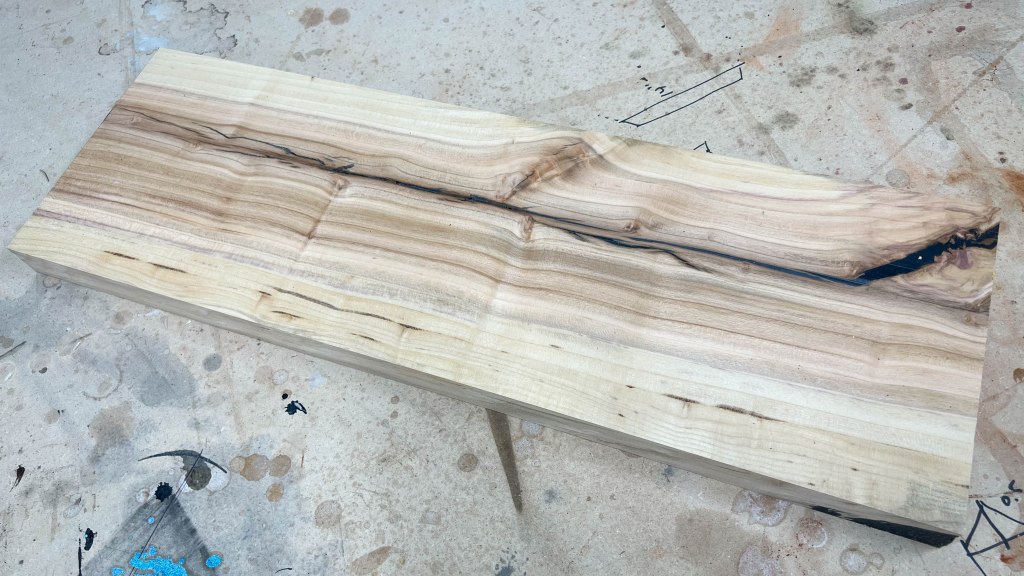
About 7 years ago, a friend cut a plum tree and gave me a piece of the trunk. This wood is beautiful with colors from yellow to red and purple, and some really nice crotch figure. I milled it, dried it for a couple of years, and made a couple of things with it, like a small box and whatnot. I still had a slab lying around, and I figured I’d make another box with it. Unfortunately, when I filled the cracks with epoxy, I had an inexplicable brain fart and poured half the amount of hardener. As a result, the epoxy in the cracks is too soft to look good. So, I decided to make a frame with it instead:
I jointed and planed all four sides, then cut the rabbet on the table saw with a square edge blade. It is 1/4 inch deep, and 1/4 inch off of the edge. The sides of the frame are about 3/4 inch wide.

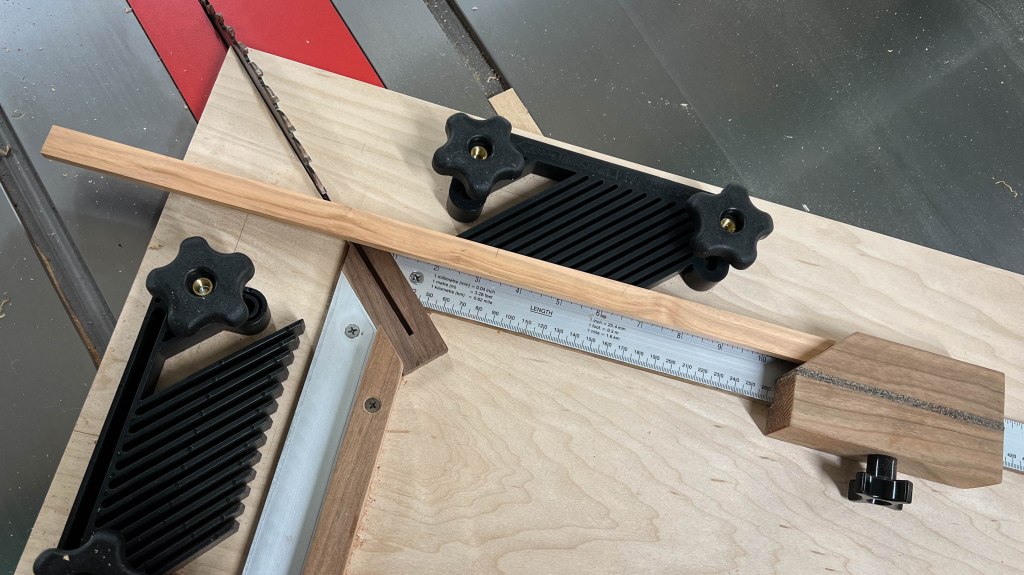
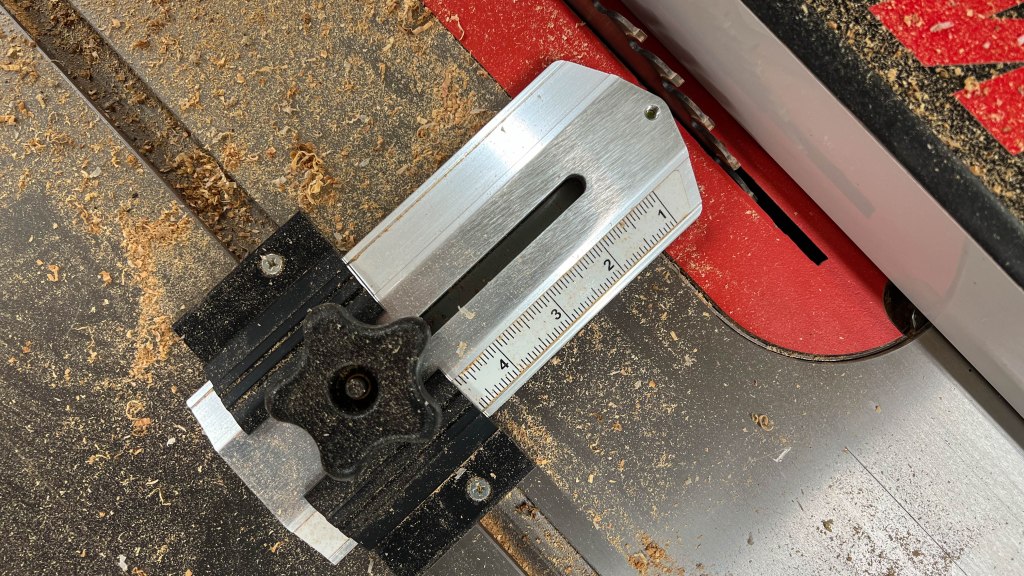
The framing jig is awesome in many ways, but my favorite feature is that it makes it super easy and repeatable to cut to the exact dimensions. The ruler and stop block on the right side let you set the cut up so that it’s the length of the space inside of the frame. In this case, the picture is 11 x 8 1/2 inches, so I cut exactly at those lengths using the ruler.
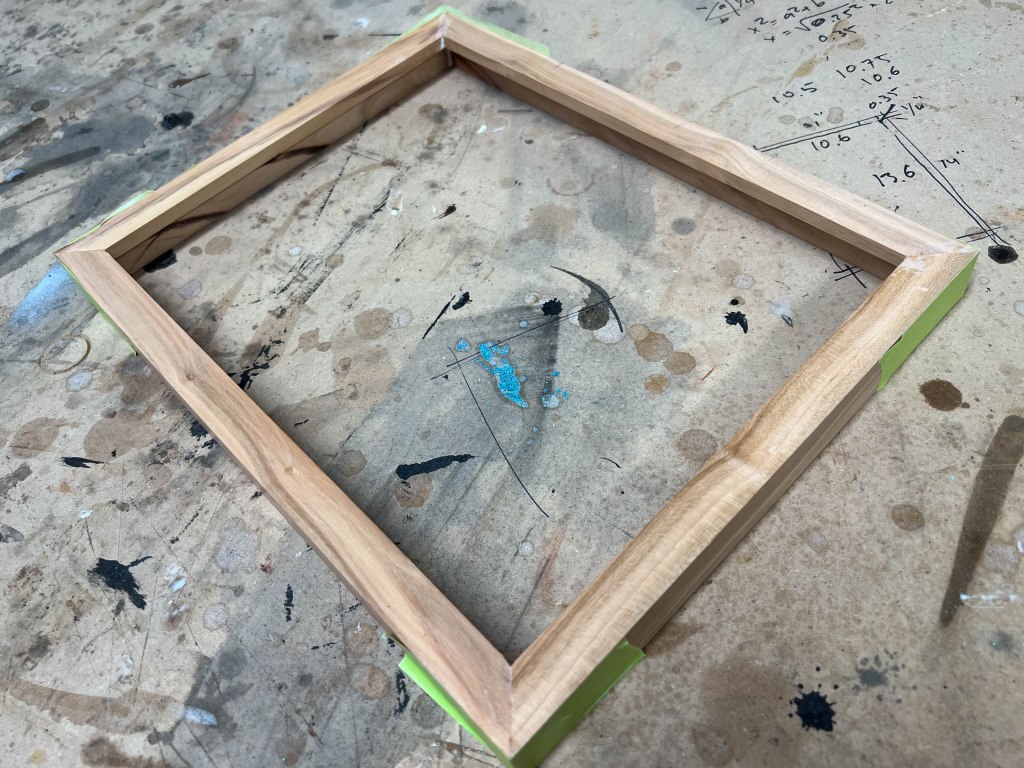
I glued up the joints and held them together with painter’s tape to dry:
To make the splines, I got this thin rip jig from Amazon, which I really like because I have never been too fond of cutting thin strips against the fence. This is a lot safer, and I wish I had gotten one of these long ago.
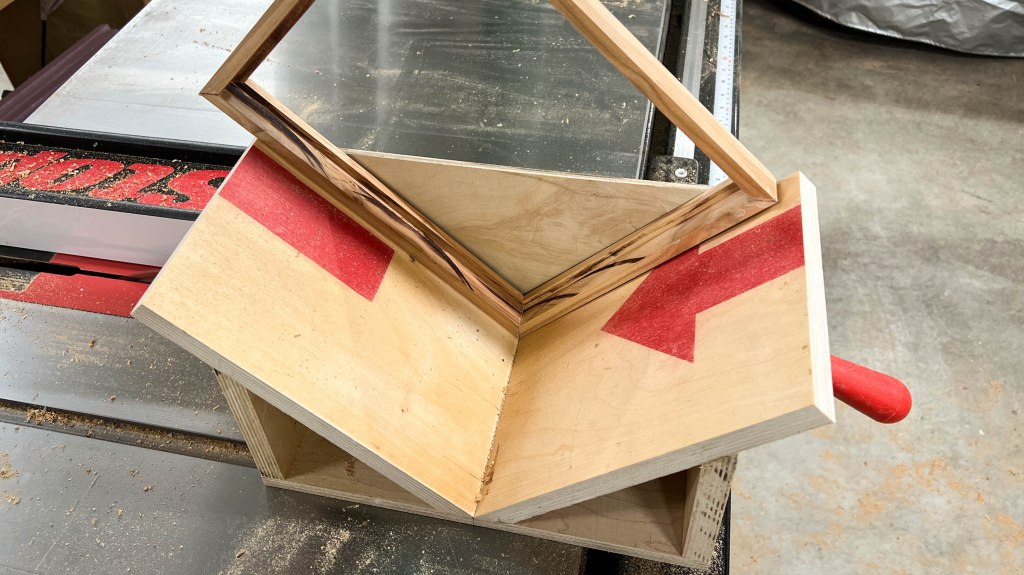
I cut the slots for the splices on the table saw:
I had to sand them a bit on 100 grit sandpaper to fit perfectly.

Once dry, I cut them with my flush trim saw, then carefully finish them with the block plane, to avoid chipping the corner.

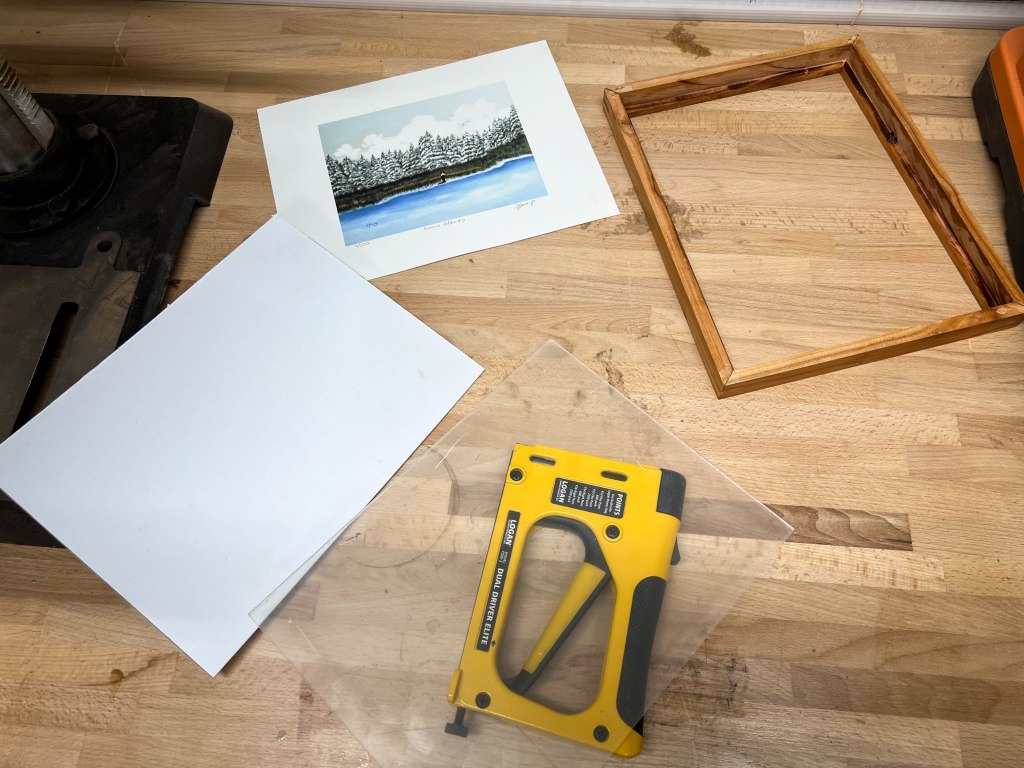
Here are all the parts put together ready to assemble. I use plexiglass and backer board I got from Amazon. I cut the plexiglass on the table saw and the backer board with an Xacto knife.
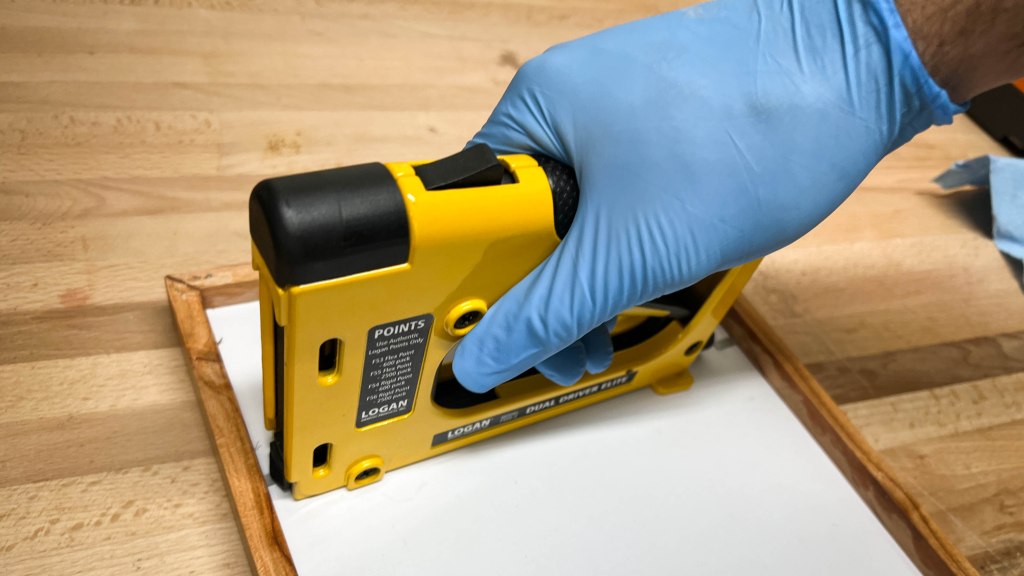
This stapler thing is something I’ve avoided buying over the years, but I finally went for it. It’s so awesome. Before I had this, I nailed small nails on the sides.
For finish, I applied a very thin coat of Tried and True varnish with a cloth, let it cure for a couple of days, and then burnished it with 00 steel wool. This finish is amazing, I particularly love it in walnut. It also smells great.